How to create Storage Pool - Windows Server 2012 R2
Guys this is my first article, “I am beginning with something, rather than nothing”.
In this article I’ll show how to create Storage Pool within “Windows Server 2012 R2”.
In this article I’ll show how to create Storage Pool within “Windows Server 2012 R2”.
This lab is configured on Azure. In order to achieve this setup, I have created a virtual machine with operating System “Windows Server 2012 R2” and assigned four data disk. You can refer my another article on How To Add Data Disk In Azure Virtual Machine.
After creating virtual machine in Azure Portal, I have logged in via RDP.
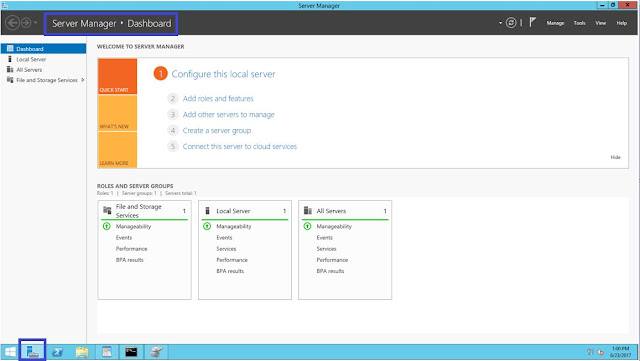
Navigate to “Server Manager” and click on “File and Storage Services”
Navigate to “Storage Pool” and you could see “Primordial” pool which is default under Storage space with status as available disk. This will hold all the available disk with “CanPool” property value as true.


 On the right corner of “Storage Pool”, navigate to “TASK”
and select “New Storage Pool” from
drop down.
On the right corner of “Storage Pool”, navigate to “TASK”
and select “New Storage Pool” from
drop down.

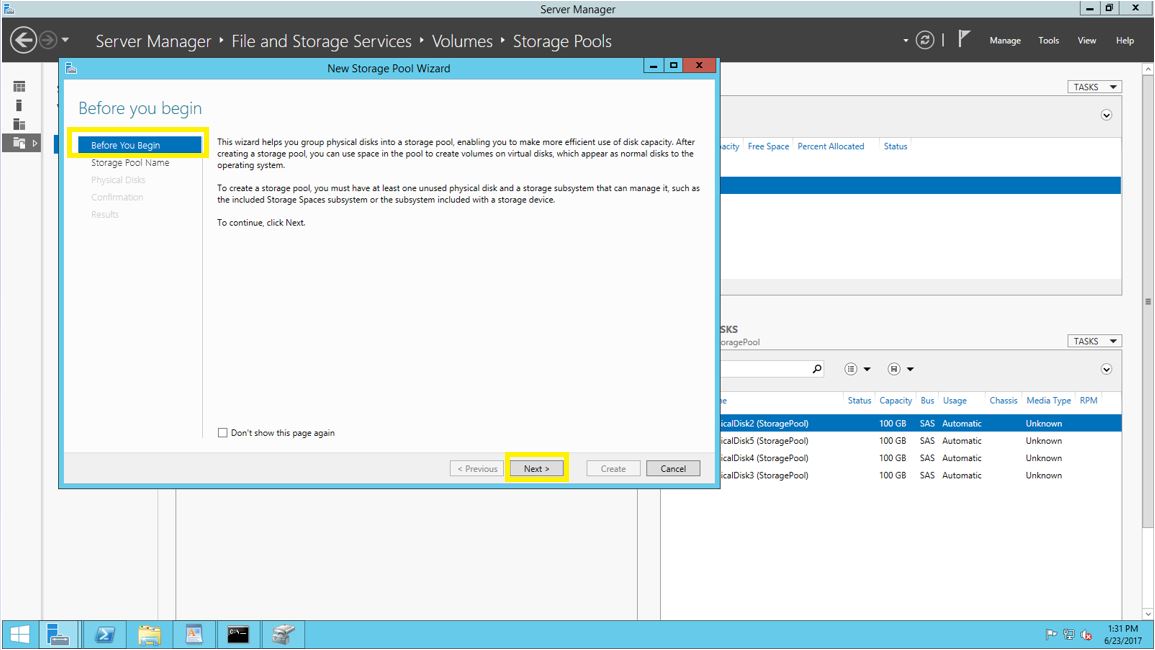
New Storage Pool creation wizard will start. Click "Next" on "Before you Begin" screen. If you want to avoid this page, Check the box "Don’t show this page again"


Click “Next” after selecting disk.


By using this storage pool you can create the virtual disk. In my future article I’ll cover how to create virtual disk from storage pool.
 Please comment and feedback for improvement in future articles!!!
Thank YOU...!

Navigate to “Storage Pool” and you could see “Primordial” pool which is default under Storage space with status as available disk. This will hold all the available disk with “CanPool” property value as true.

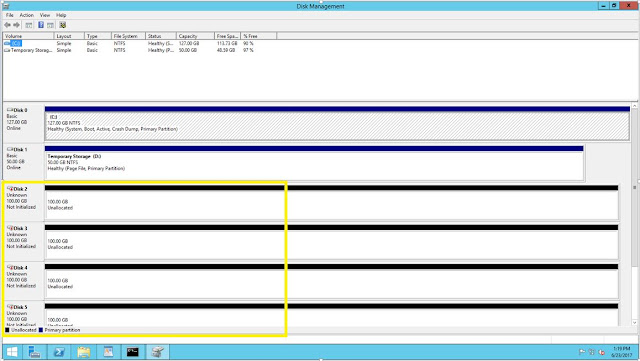
Before adding available disk to any pool, I have
captured the current view from native “Disk
Management” Console. After adding new Physical Disk/SAN Disk we have to
bring all the disk online and need to initialize. While initializing , you can
decide to initialize your disk to MBR or GPT. To Know more about MBR and GTP
you can refer msdn article Partition Styles
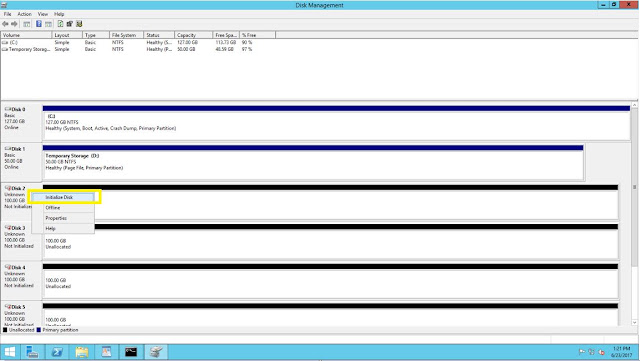
If you try to “Initialize” the disk from “Server
Manager” console, you won’t see option to select MBR or GTP. By default
it will go with GTP and will display
below warning, where you can click “Yes”,
since these are newly added disk and no data hosted.


New Storage Pool creation wizard will start. Click "Next" on "Before you Begin" screen. If you want to avoid this page, Check the box "Don’t show this page again"
Define the storage pool name. As a best practice,
I would recommend to follow the correct naming convention. It’s very important
that you follow correct naming convention based on the environment
(DEV/UAT/Production). Description field is also very important, because it helps to understand the purpose of created pool to newly joined Administrator in your
organization and also during troubleshooting.
Click on “Next” once “Name” and “Description” fields are populated.
Select the disk which you want to add under this new pool.
In this demo, I am selecting all four available disk. I have selected “Allocation” property as “Automatic” so that OS will manage the
storage allocation its own.
Based on need, we can select the other option which is “Hot Spare” and “Manual”. Recommended is “Automatic” and “Hot Spare”, depends on configuration. Selecting “Manual” always increased administrative overhead.Click “Next” after selecting disk.
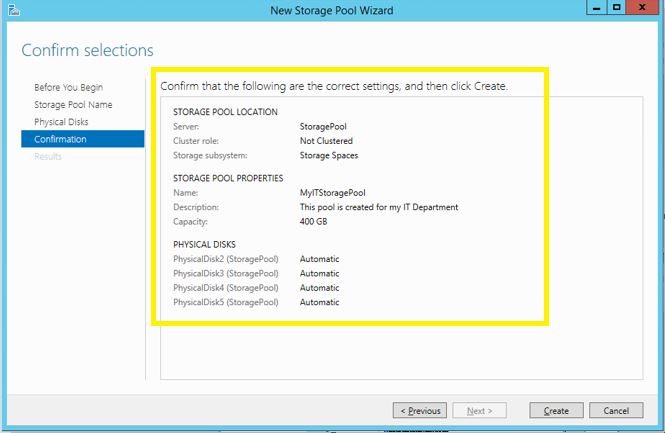
Confirmation page, allow us to review so far
selected configuration during the Wizard. Also, it allow us to go back to “Previous” page to modify the selected
configuration. If all the selected configuration looks good, then click on “Create”.
It will proceed with pool creation process and
end result will be completed as shows below.

We can see new storage pool “MyITStoragePool” is created and visible under “Storage Spaces”. Since I have selected all available disk, it’s
not showing default pool by name “Primordial”.
If you have any physical disk which is not selected during pool creation
then you can still see then “Primordial”.
If you can’t see newly created pool, then you may need to refresh the server manager by clicking on “Refresh” icon.

We have successfully created “Storage Pool”.
After adding disk to “Storage Pool” we can’t see all four disk from native “Disk Management” console, because all disk are added into storage pool, as shown in below screenshot.By using this storage pool you can create the virtual disk. In my future article I’ll cover how to create virtual disk from storage pool.

Hope this article is helpful!!!
Thank YOU...!


Comments
Post a Comment