Posts

Showing posts from 2017

Windows Servers Patching Best Practices!

Image
As we all know applying security/cumulative updated in the Windows environment is very important to secure the environment from external attack. It also helps to fix identified bugs in previous version and improve the stability and performance. I am writing this blog, because I have seen many administrators struggle to accomplish patching activity into own organization Or in customer environment. Most of the struggle is not because of technical challenges, but it’s due to operational challenges, for example server downtime , scheduling , change management etc. I am taking this opportunity to share the best practices which I have followed while performing Windows Patching. This may help to organize/structure the patching activity in your organization. Audience:   Windows Server Administrators and the people who follow server patching via any patching tool available in the market. Note: This article cover for the Windows Server environment and applicable for Operat

How To Add Data Disk In Azure Virtual Machine

Image
Login into Azure Portal  Azure Portal Once logged in, select virtual machine to add new data disk. In my case I have selected Virtual Machine named  “StoragePool”. After selecting virtual machine, you will able to see “Overview”. We have to click on “Disk” tab as show in below screenshot. You will see currently we don’t have any disk associated with selected virtual machine. To add new data disk, we have to click on “+ Add data disk” Default it will start with LUN 0. From drop down, we have to select “Create Disk”, as show below. You will redirect to disk create wizard and below page will appear. Fill in all mandatory information. Once all the information is populated you can click on “Create” button below. Note: You can use your existing “Resource Group” or you can create new one. In my case, I am using my existing resource group “myIT”. For demonstration, I have given 100 GB, you can give as per you requirement. Post complet

How to create Storage Pool - Windows Server 2012 R2

Image
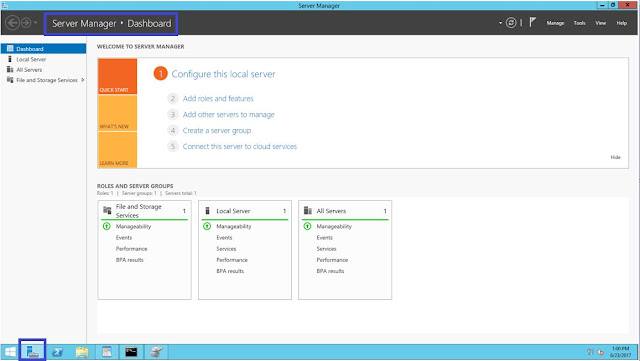
Guys this is my first article, “I am beginning with something, rather than nothing”. In this article I’ll show how to create Storage Pool within “Windows Server 2012 R2”. This lab is configured on Azure. In order to achieve this setup, I have created a virtual machine with operating System “Windows Server 2012 R2” and assigned four data disk. You can refer my another article on How To Add Data Disk In Azure Virtual Machine . After creating virtual machine in Azure Portal, I have logged in via RDP. Navigate to “Server Manager” and click on “File and Storage Services” Navigate to “Storage Pool” and you could see “Primordial” pool which is default under Storage space with status as available disk. This will hold all the available disk with “CanPool” property value as true. Before adding available disk to any pool, I have captured the current view from native “Disk Management” Console. After adding new Physical Disk/SAN Disk we have to bring all the disk